Drawings That Are Cute and Easy That Are Colered
Flat Coloring
Then you've got a cool blackness on white drawing, and now y'all want to colour information technology! The thing nosotros'll aim for in this tutorial is to go your line art colored in with flat colors. So no shading simply all the same. Nosotros'll be going through some techniques for preparing the line art, and we'll be using the layer docker to put each color on a separate layer, so we can easily access each color when nosotros add shading.
Note
This tutorial is adapted from this tutorial by the original writer.
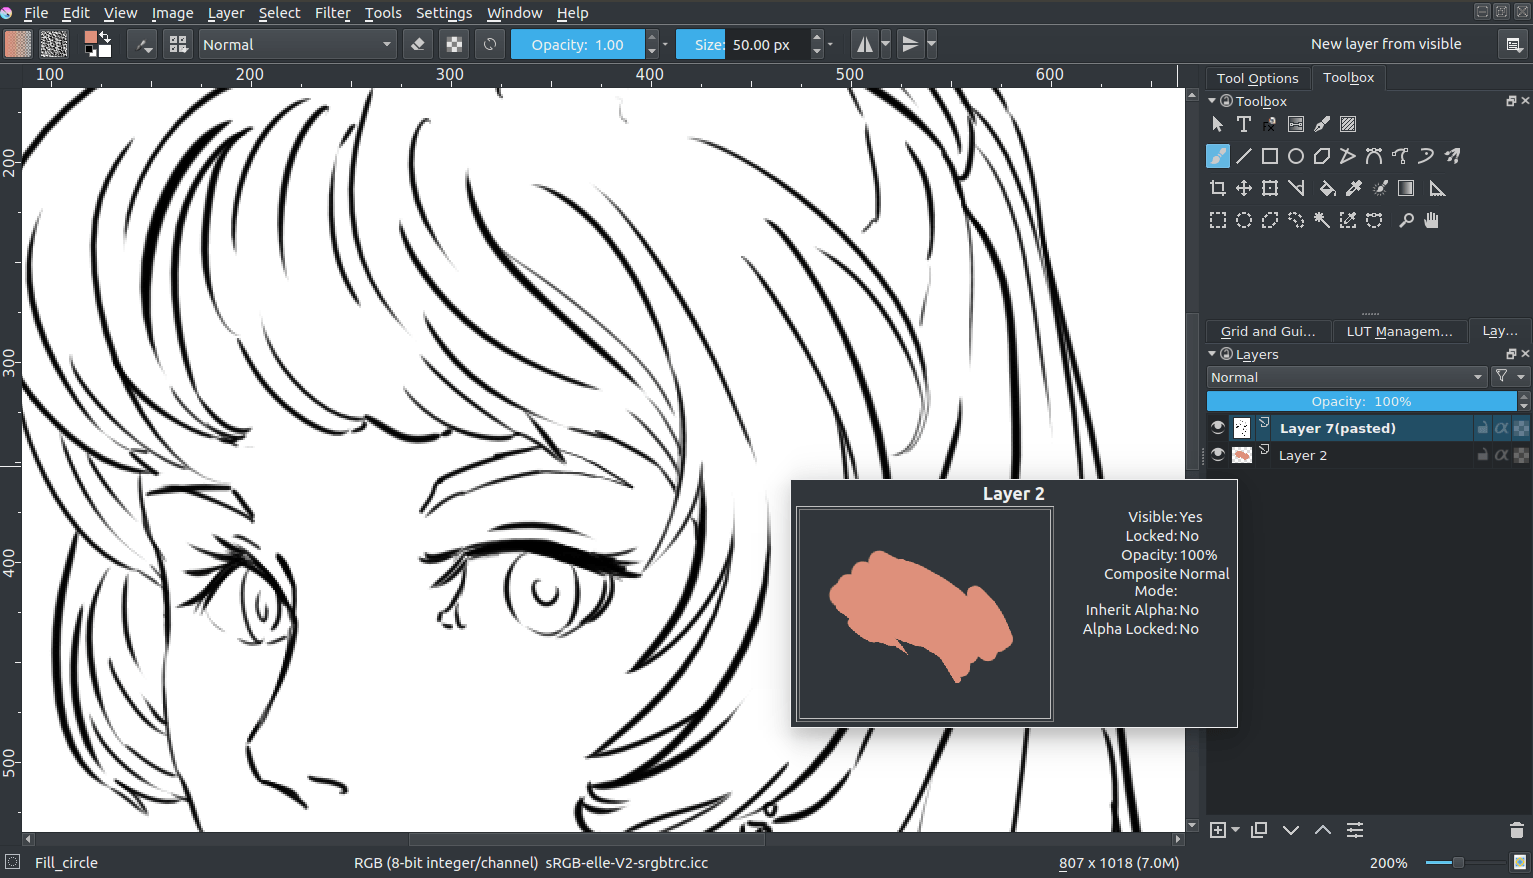
Agreement Layers
To fill line art comfortably, it's best to accept reward of the layerstack. The layer stack is pretty crawly, and information technology's i of those features that make digital art super-convenient.
In traditional art, it is non uncommon to first draw the total background before drawing the subject. Or to outset draw a line art and and so color information technology in. Computers have a like mode of working.
In programming, if you tell a computer to describe a carmine circle, and then afterward tell it to describe a smaller yellow circle, y'all will see the modest yellow circle overlap the red circle. Switch the commands around, and y'all volition not see the yellow circle at all: information technology was fatigued before the red circle and thus 'behind' it.
This is referred to as the "drawing lodge". And then similar the traditional artist, the computer will outset depict the images that are behind everything, and layer the subject area and foreground on top of it. The layer docker is a way for yous to control the drawing order of multiple images, so for case, you tin can take your line art drawn later than your colors, pregnant that the lines will be drawn over the colors, making it easier to brand it keen!
Other things that a layer stack tin practise are blending the colors of different layers differently with blending modes, using a filter in the layer stack, or using a mask that allows yous to brand parts transparent.
Tip
Programmers talk about transparency as ''Alpha'', which is because the 'a' symbol is used to present transparency in the algorithms for painting one colour on top of another. Ordinarily when you run across the discussion ''Alpha'' in a graphics program, merely think of information technology as affecting the transparency.
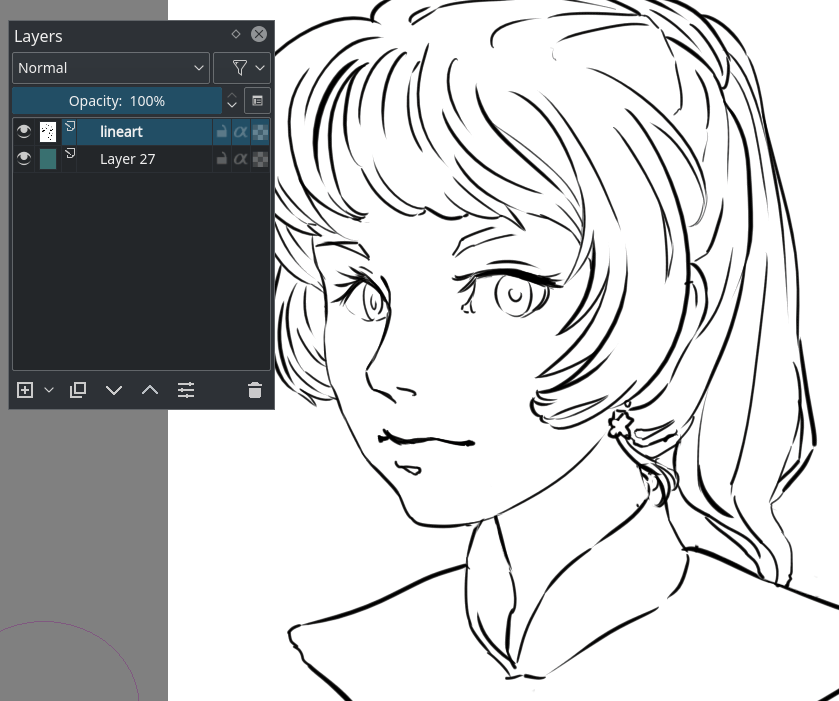
Preparing your line art
Put the new layer underneath the layer containing the line art (drag and drop or use the upwards/downwards arrows for that), and draw on information technology.
…And notice aught happening. This is because the white isn't transparent. Y'all wouldn't actually desire it to either, how else would you make convincing highlights? So what we first need to do to color in our cartoon is prepare our line art. In that location's several methods of doing so, each with varying qualities.
The Multiply Blending Manner
And then, typically, to get a black and white line art usable for coloring, you tin fix the blending mode of the line art layer to Multiply. You do this by selecting the layer and going to the driblet-down that says Normal and setting that to Multiply.
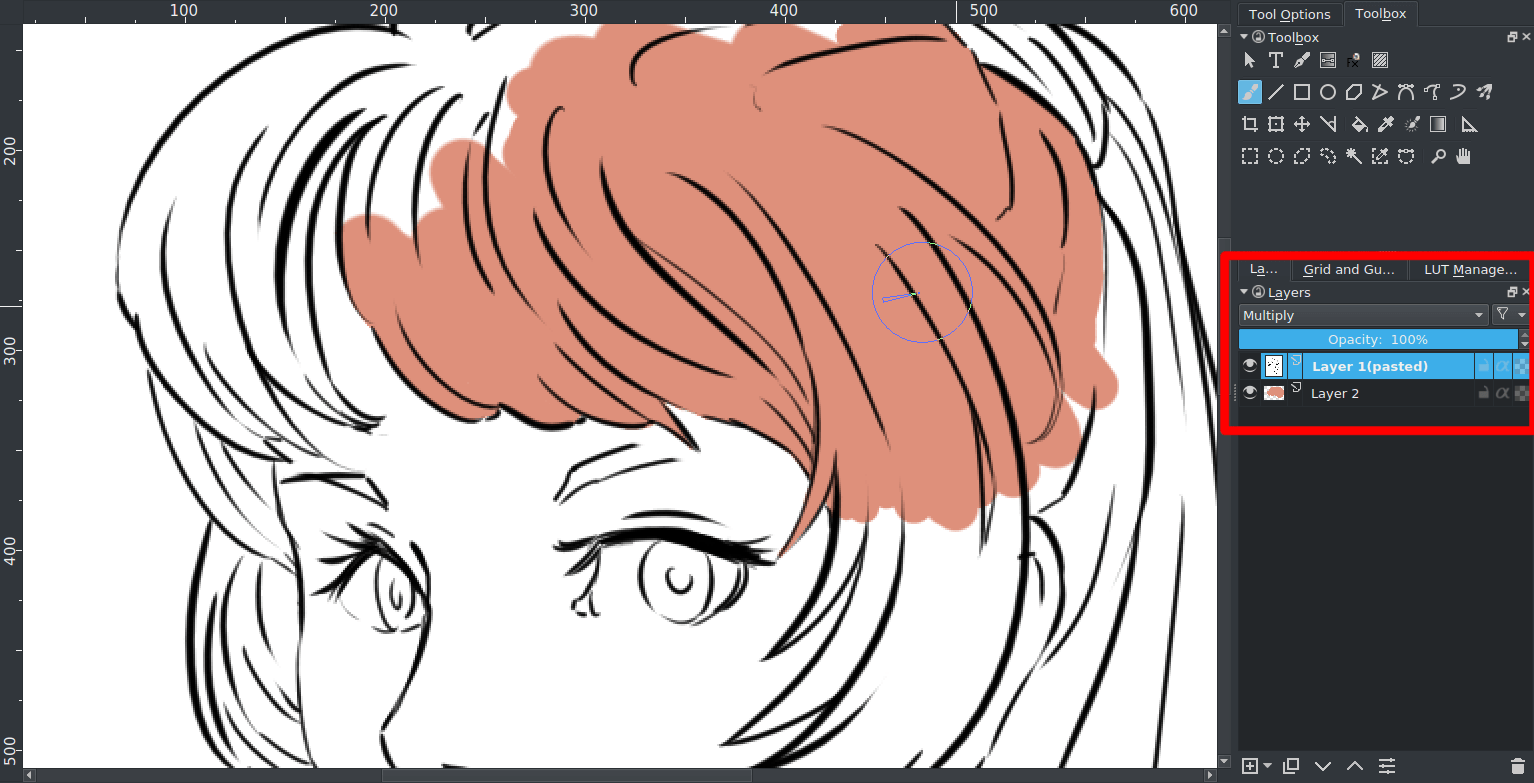
And then you should be able to run into your colors!
Multiply is non a perfect solution however. For example, if through some image editing magic I brand the line art blueish, it results into this:
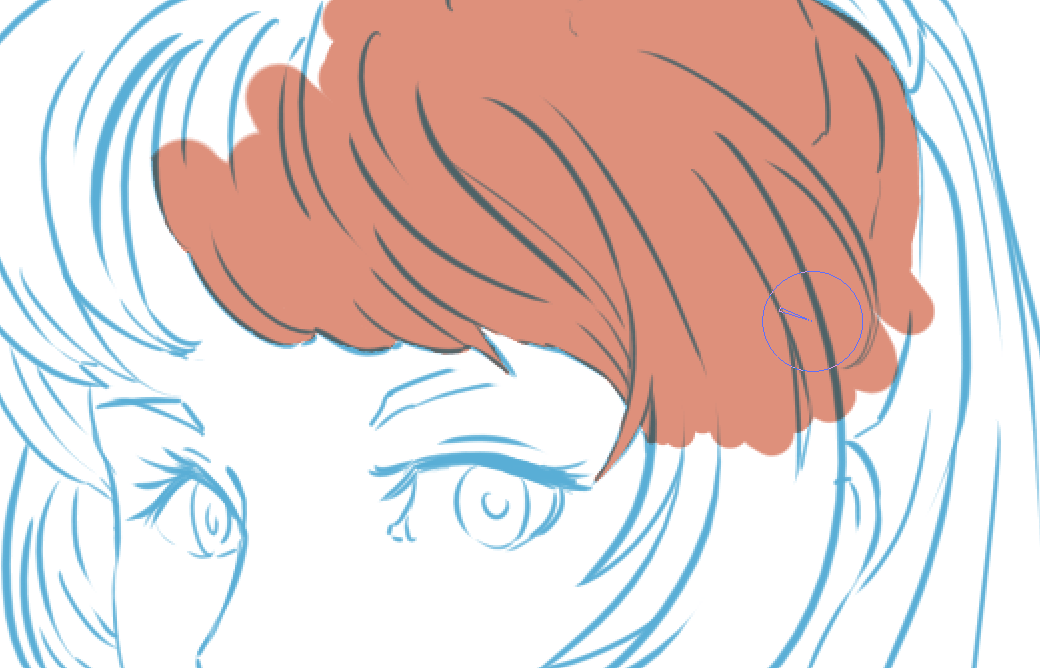
This is because multiply literally multiplies the colors. And then it uses maths!
What it showtime does is take the values of the RGB channels, so divides them by the max (because nosotros're in 8bit, this is 255), a process we phone call normalising. And then it multiplies the normalized values. Finally, it takes the result and multiplies information technology with 255 again to get the result values.
| Pink | Pink (normalized) | Blueish | Blue (normalized) | Normalized, multiplied | Result | |
|---|---|---|---|---|---|---|
| Red | 222 | 0.8705 | 92 | 0.3607 | 0.3139 | fourscore |
| Light-green | 144 | 0.5647 | 176 | 0.6902 | 0.3897 | 99 |
| Blue | 123 | 0.4823 | 215 | 0.8431 | 0.4066 | 103 |
This isn't completely undesirable, and a lot of artists apply this effect to add together a fiddling richness to their colors.
Advantages
Easy, tin can work to your do good even with colored lines past softening the look of the lines while keeping prissy dissimilarity.
Disadvantages
Non actually transparent. Is a picayune funny with colored lines.
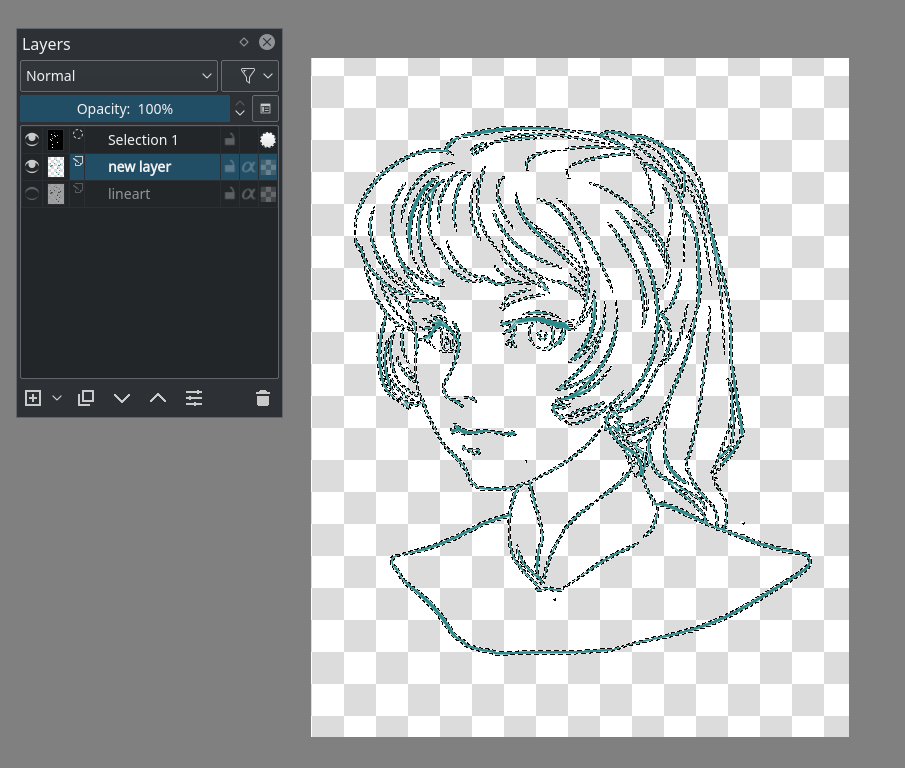
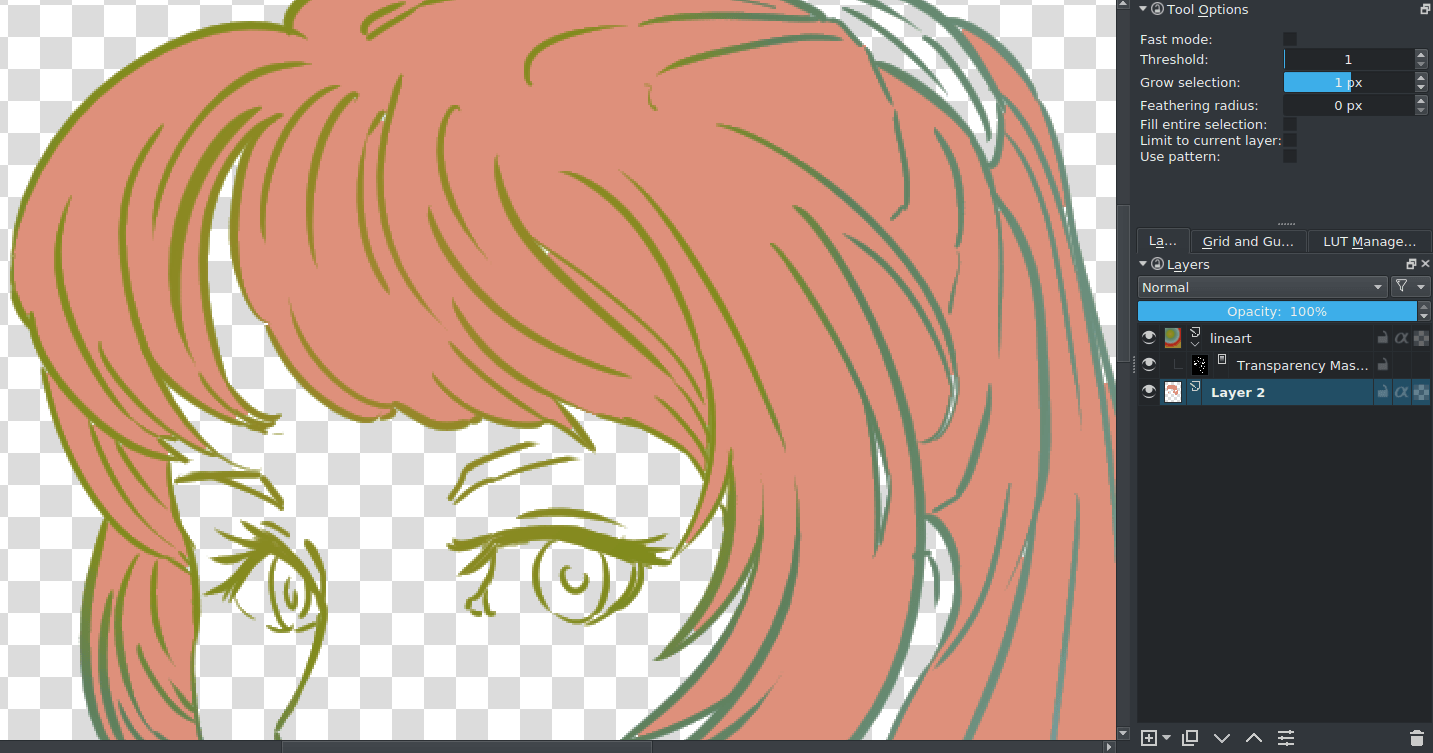
Using Selections
The second method is 1 where nosotros'll make information technology really transparent. In other programs this would be done via the aqueduct docker, merely Krita doesn't practise custom channels, instead information technology uses Pick Masks to shop custom selections.
-
Duplicate your line art layer.
-
Convert the indistinguishable to a selection mask.
 the layer, then .
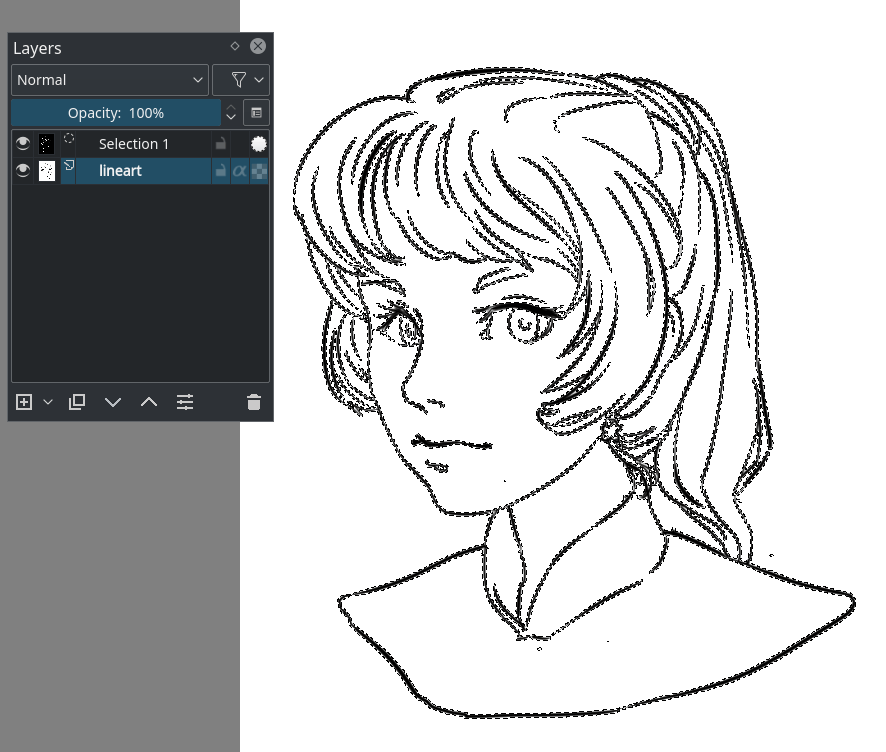
-
Invert the selection mask. .
-
Make a new layer, and do .
And you should now have the line fine art on a split up layer.
Advantages
Actual transparency.
Disadvantages
Doesn't work when the line art is colored.
Using Masks
This is a simpler variation of the above.
-
Brand a filled layer underneath the line art layer.
-
Convert the line art layer to a transparency mask
the layer, then .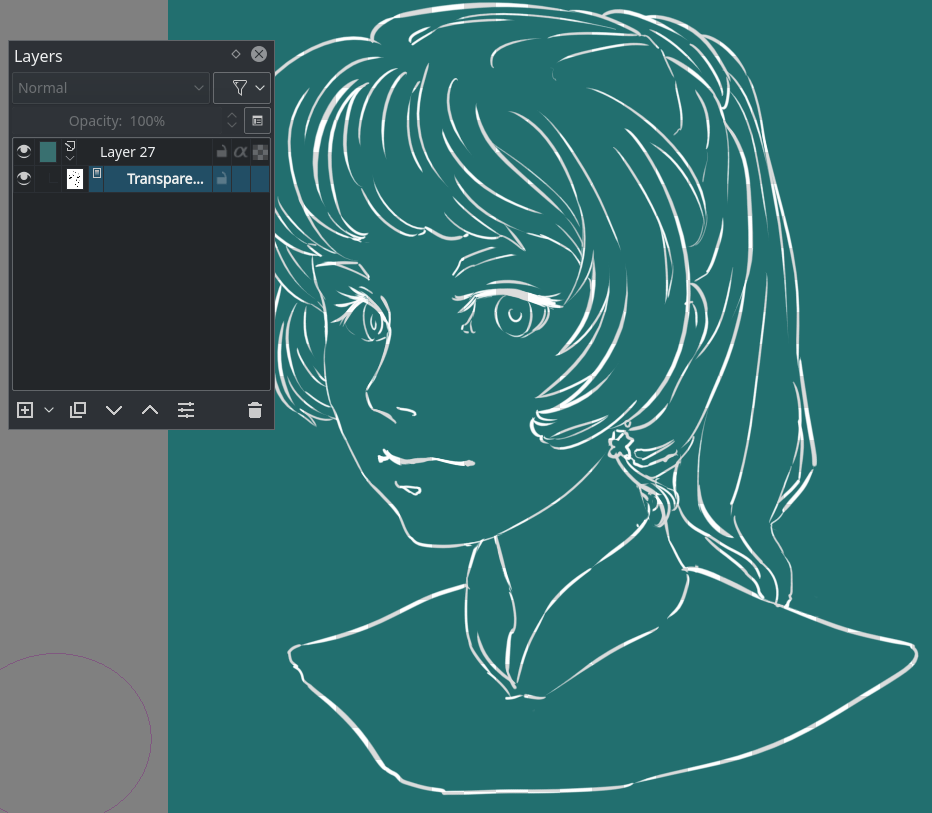
-
Capsize the transparency mask by going to .
Advantages
Actual transparency. Y'all tin can also very hands putter a pattern on the filled layer where the mask is on without affecting the transparency.
Disadvantages
Doesn't piece of work when the line art is colored already. Nosotros can yet become faster.
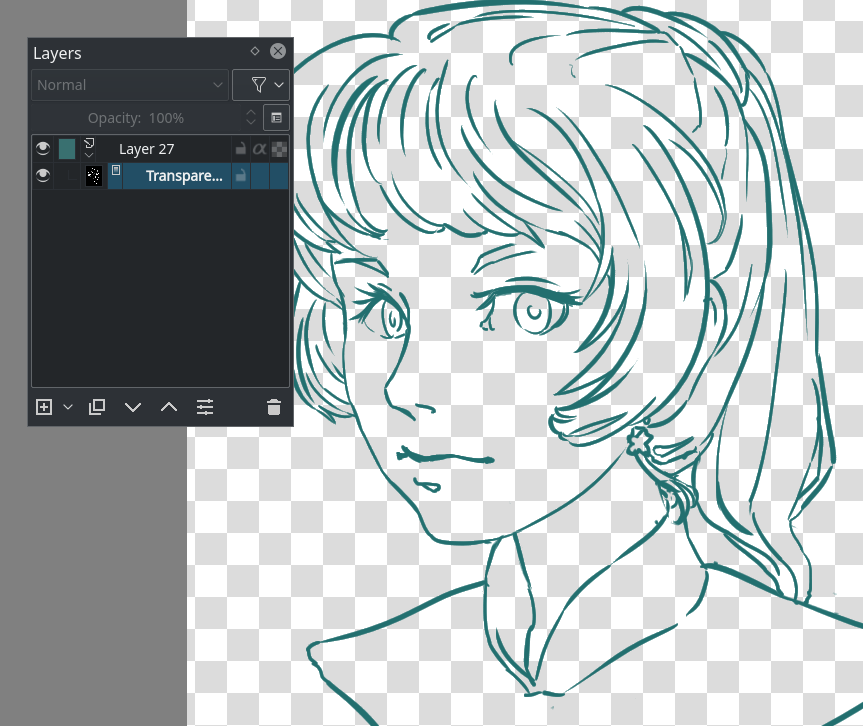
Using Colour to Alpha
By far the fastest way to get transparent line art.
-
Select the line art layer and use the Filter: Color to Alpha dialog nether menu item. The default values should be sufficient for line art.
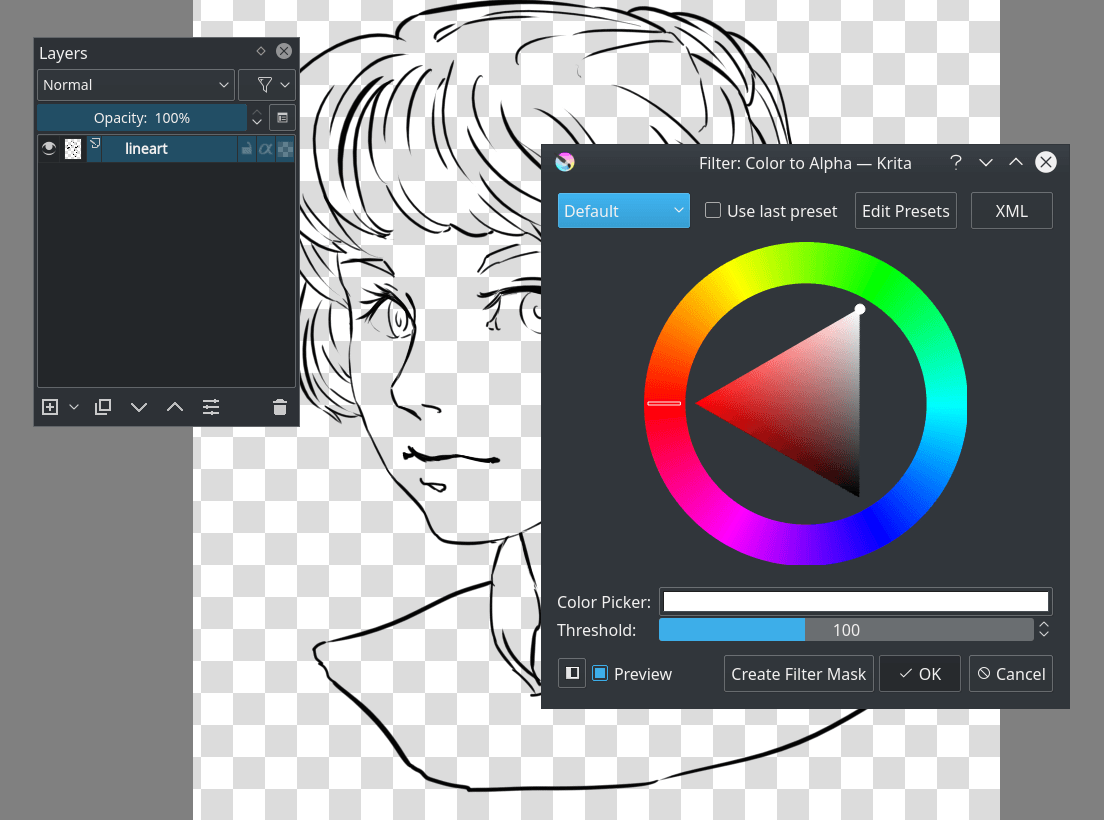
Advantages
Actual transparency. Works with colored line art also, because it removes the white specifically.
Disadvantages
You'll take to lock the layer transparency or separate out the alpha via the correct-click carte if you want to hands color it.
Coloring the prototype
Much similar preparing the line art, there are many dissimilar ways of coloring a layer.
You could for example make full in everything past mitt, but while that is very precise information technology also takes a lot of piece of work. Let'southward have a await at the other options, shall nosotros?
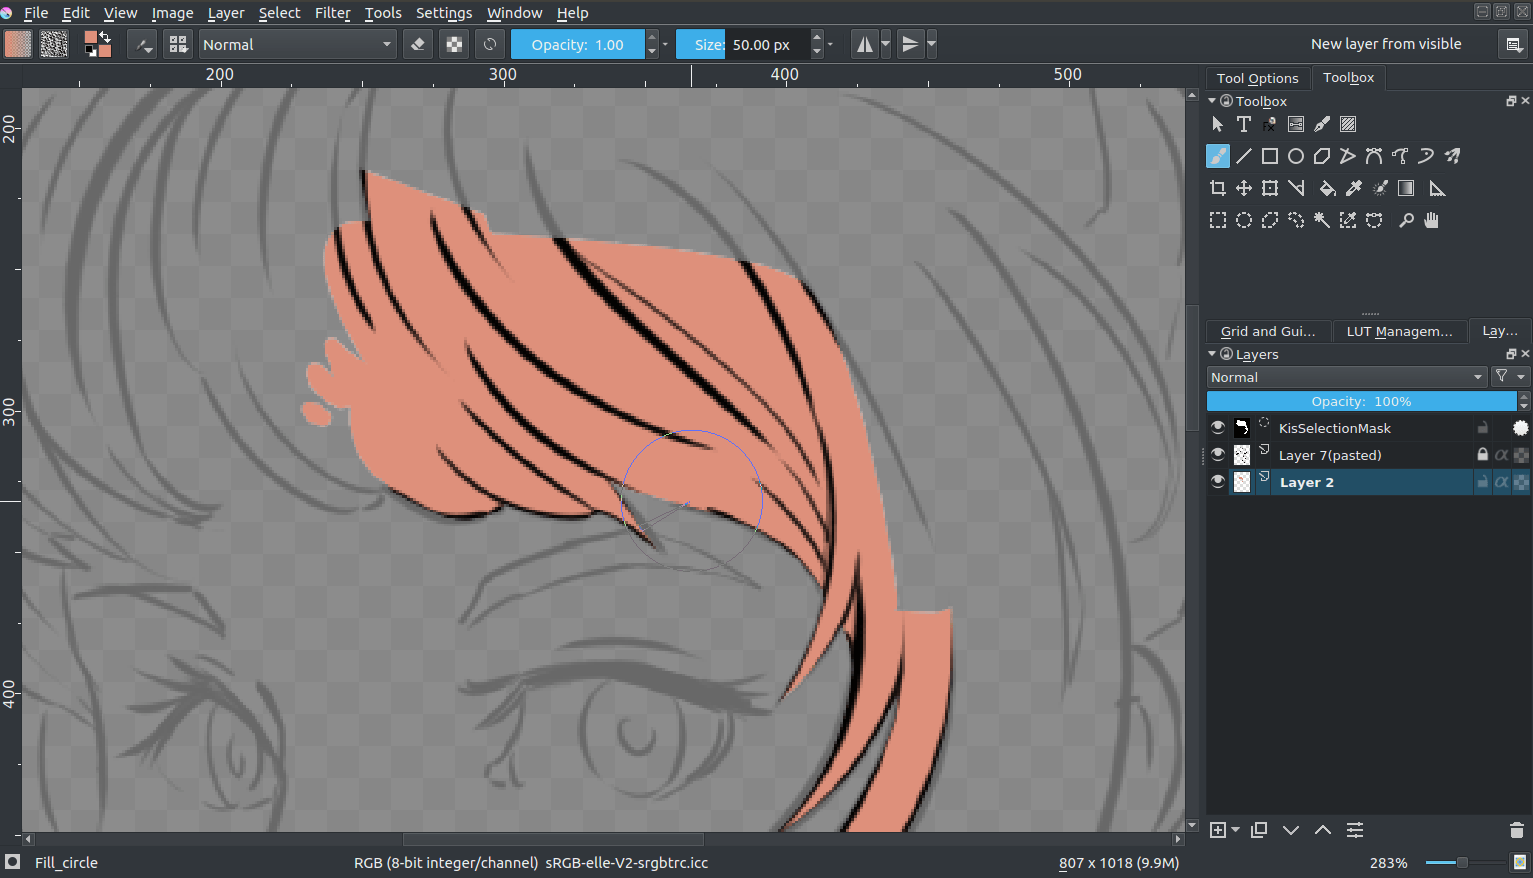
Fill Tool

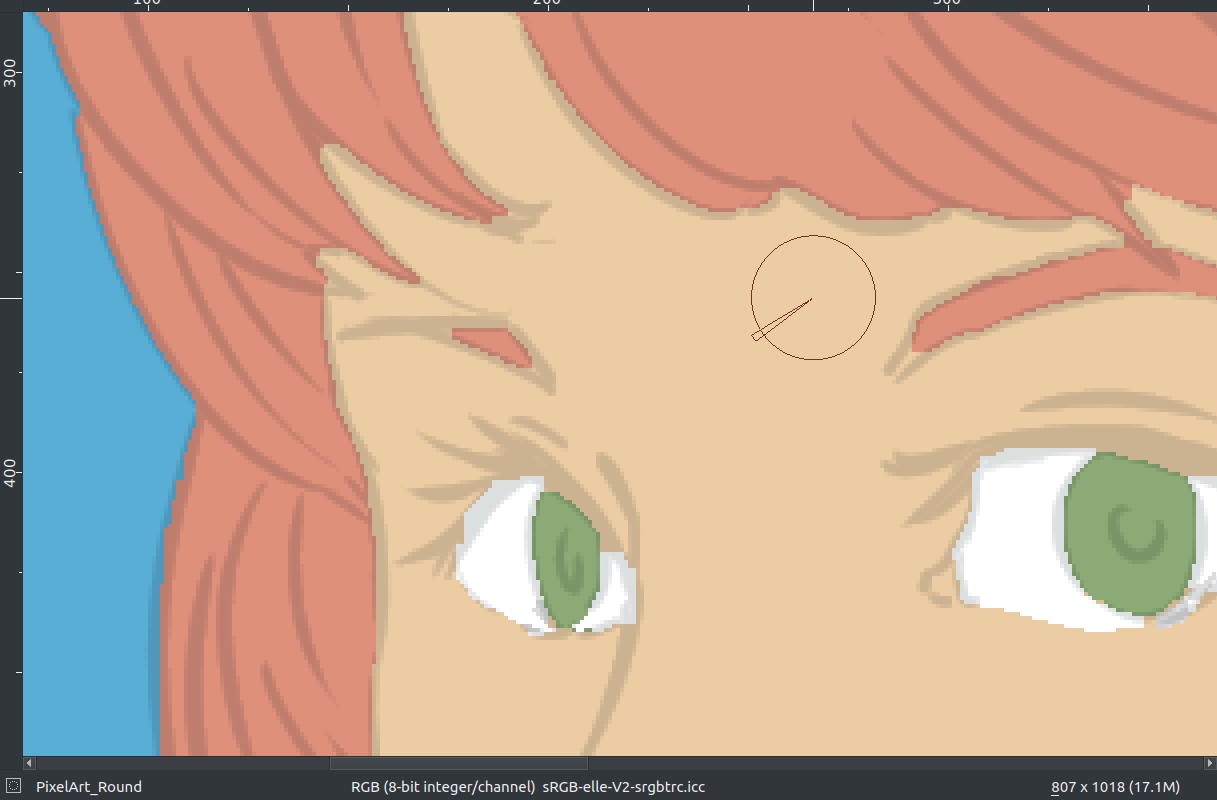
In almost cases the make full-tool can't deal with the anti-aliasing (the soft edge in your line art to make it more smooth when zoomed out) In Krita y'all take the grow-shrink option. Setting that to say… 2 expands the color two pixels.
Threshold decides when the make full-tool should consider a unlike color pixel to be a border. And the feathering adds an extra soft border to the fill.
Now, if yous click on a gapless-part of the image with your preferred color… (Recall to gear up the opacity to one.0!)
Depending on your line art, you can exercise flats pretty speedily. But setting the threshold low tin upshot in footling artifacts around where lines come across:
Nevertheless, setting the threshold high tin end with the fill not recognizing some of the lighter lines. Likewise these little artifacts tin be removed with the brush easily.
Advantages
Pretty darn quick depending on the available settings.
Disadvantages
Once more, not nifty with gaps or details. And it works best with aliased line art.
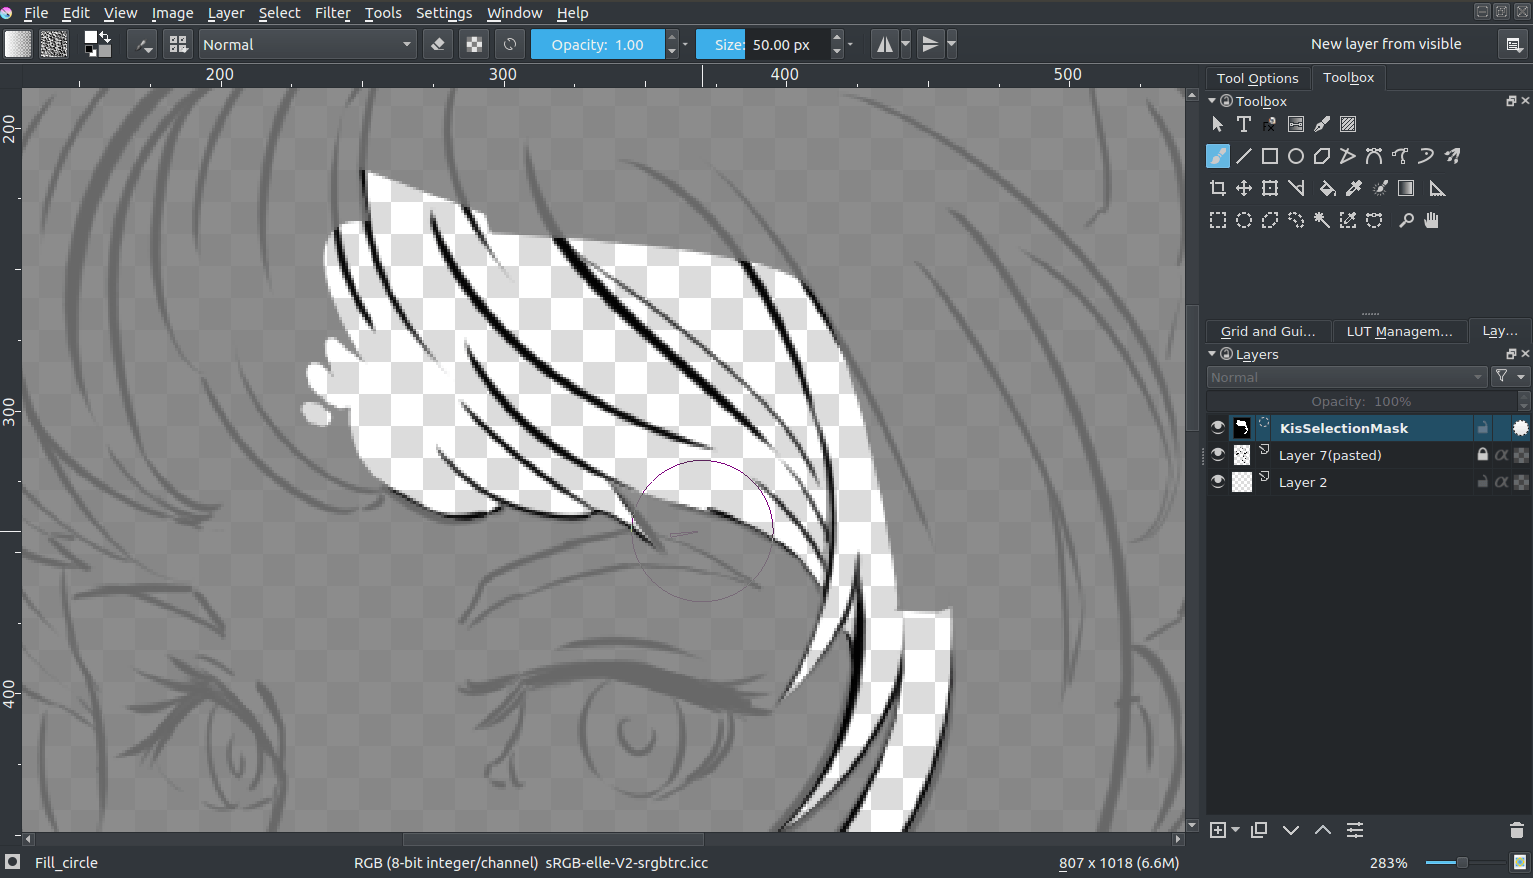
Selections
Selections work using the selection tools.
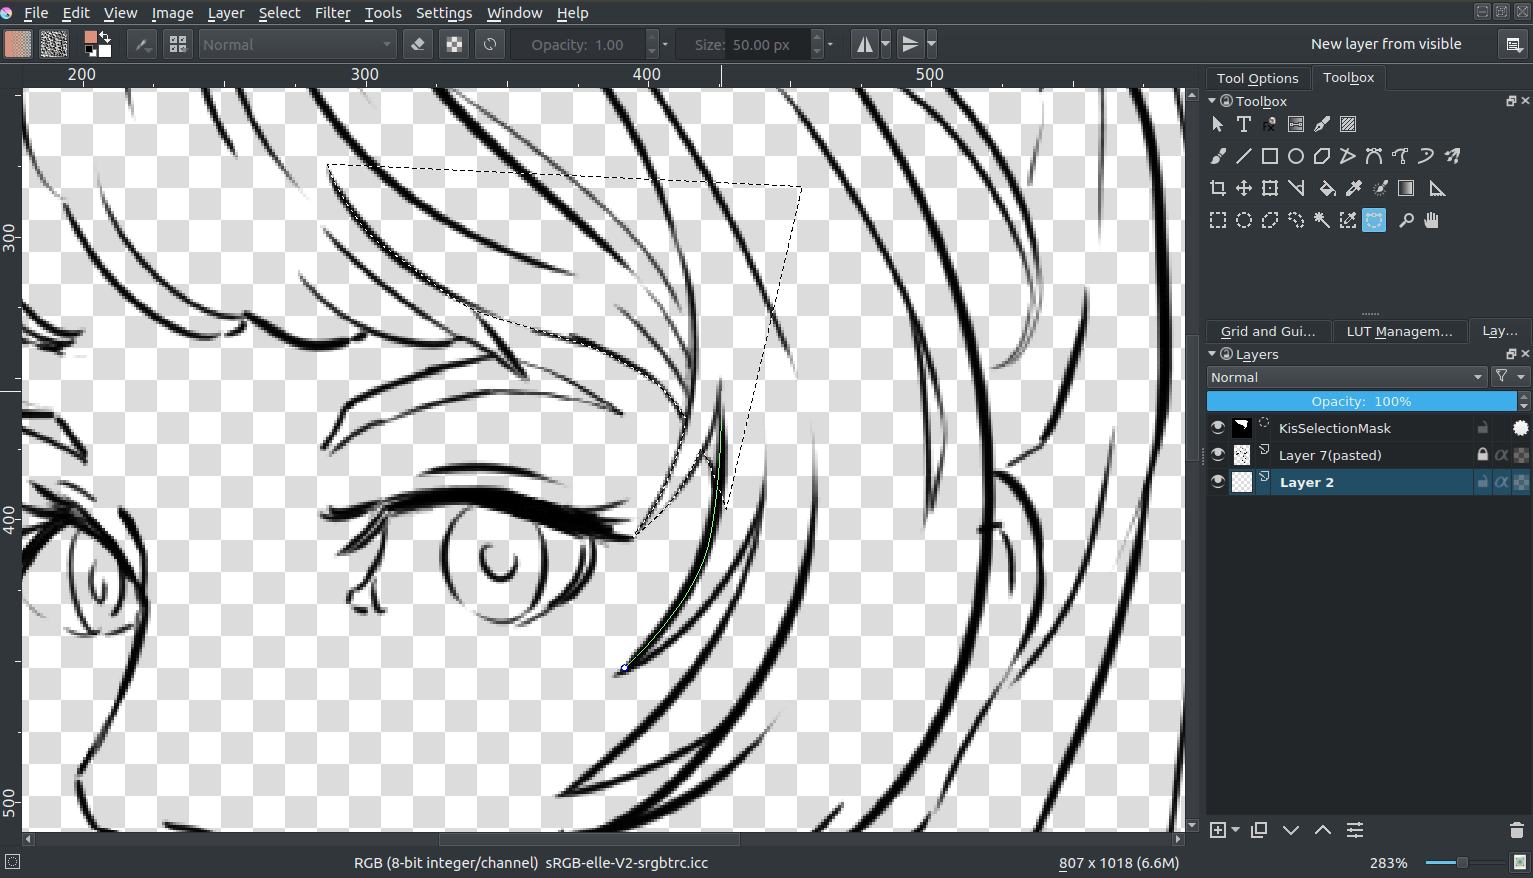
For example with the Path Choice Tool you can easily select a curved area, and the with Shift +  (not + Shift , there'south a difference!) y'all can hands add together to an existing selection.
You can too edit the pick if y'all take turned on. Then y'all tin can select the global selection mask, and pigment on it. (In a higher place with the alternative selection fashion, activated in the lower-left corner of the stats bar)
When washed, select the color you want to fill it with and press the Shift + Backspace shortcut.
You tin can save selections in option masks by a layer, and so going to . You beginning demand to conciliate a choice by pressing the circle before adding a new choice.
This tin serve as an alternative mode to split out different parts of the image, which is good for more painterly pieces:
Advantages
A fleck more precise than filling.
Disadvantages
Previewing your color isn't every bit easy.
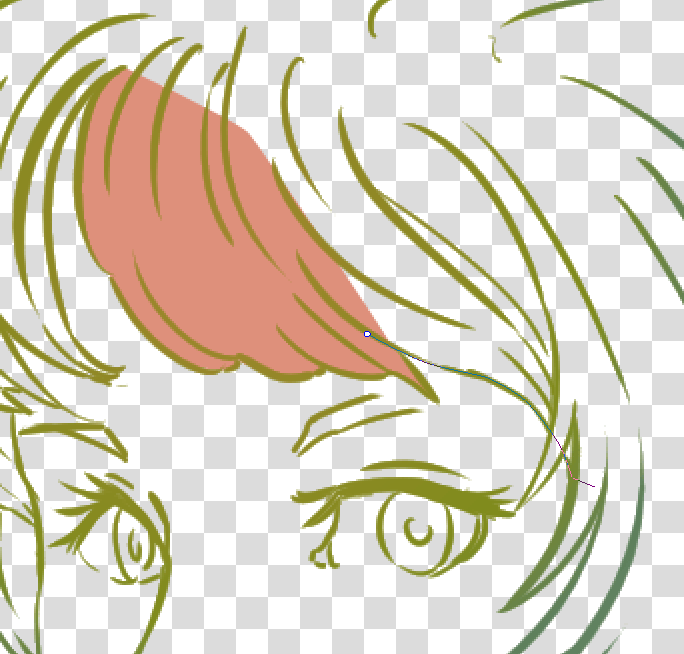
Geometric tools
So you have a tool for making rectangles or circles. And in the case of Krita, a tool for bezier curves. Select the path tool ( ), and set the tool options to fill=foreground and outline=none. Make sure that your opacity is ready to i.00 (fully opaque).
By clicking and holding, you tin influence how curvy a line describe with the path tool is going to exist. Letting go of the mouse button confirms the action, and and so you're free to draw the adjacent point.
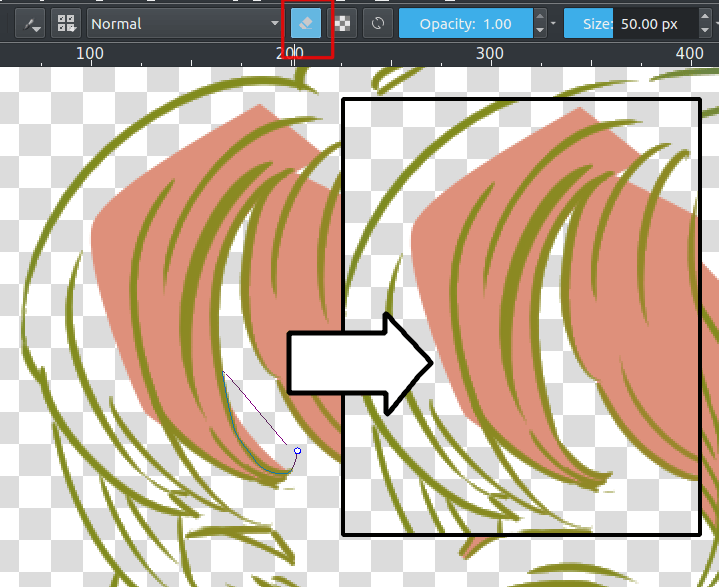
Y'all tin also erase with a geometric tool. But press the East central or the eraser push button.
Advantages
Quicker than using the castor or selections. Likewise decent with line art that contains gaps.
Disadvantages
Fiddly details aren't easy to fill up in with this. Then I recommend skipping those and filling them in later with a castor.
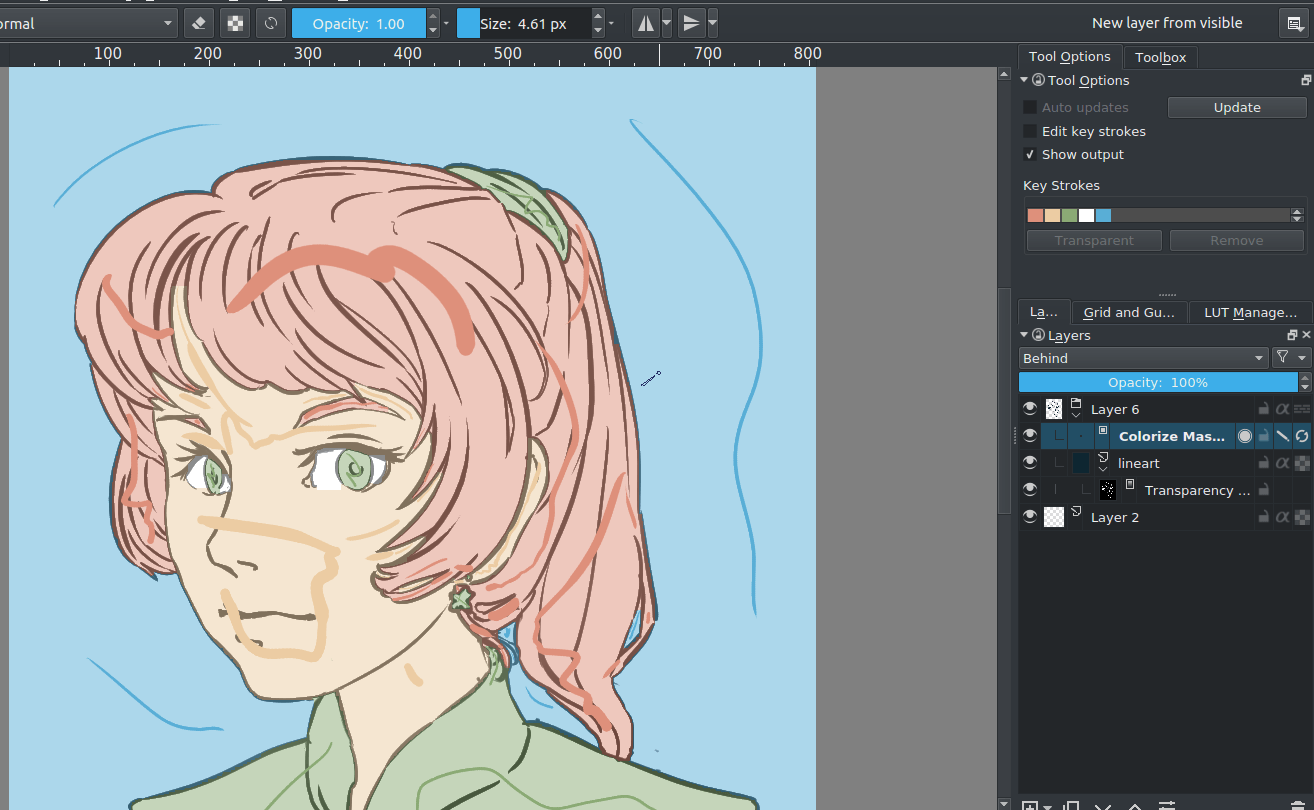
Colorize Mask
So it works like this:
-
Select the colorize mask tool.
-
Tick the layer you're using.
-
Pigment the colors you want to use on the colorize mask.
-
Click update to come across the results:
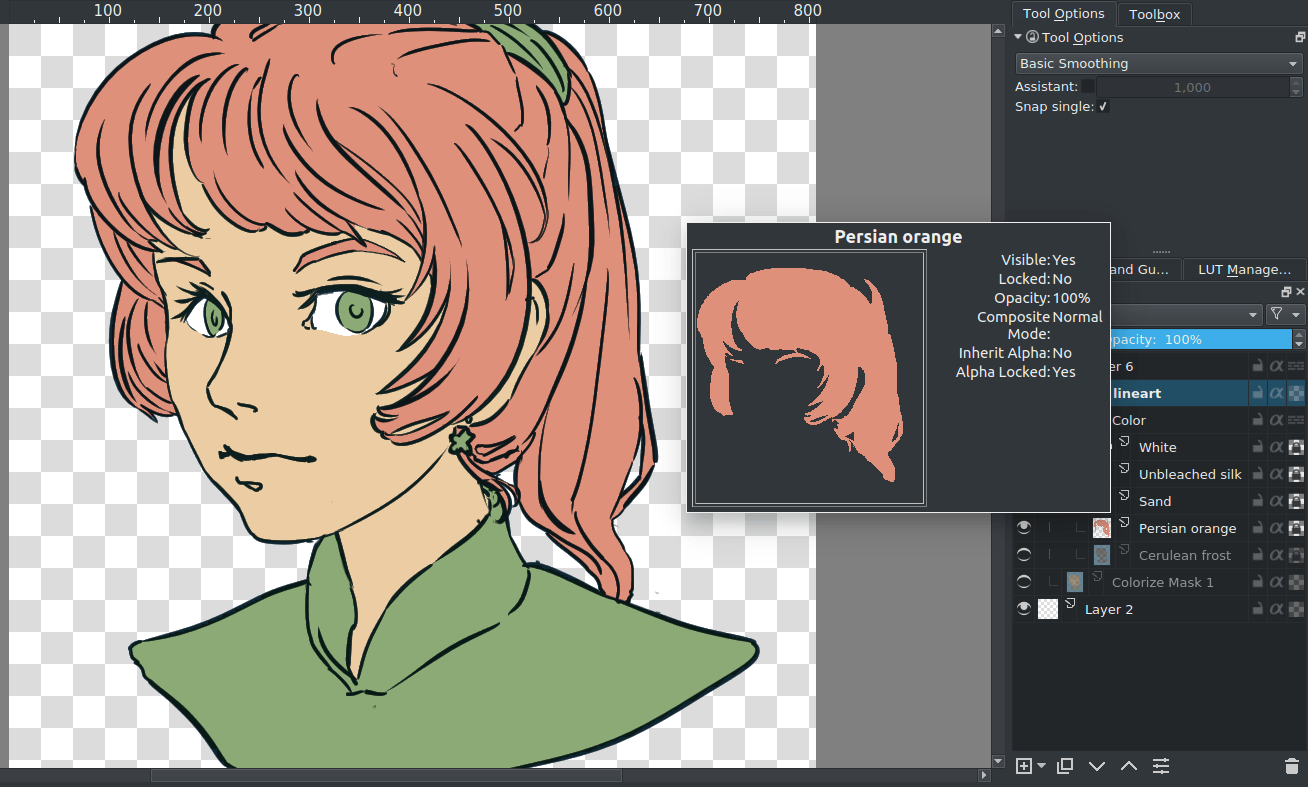
When you are satisfied, the colorize mask, and go to . This volition turn the colorize mask to a generic paint layer. Then, you can fix the last issues past making the line fine art semi-transparent and painting the flaws away with a pixel fine art brush.
Then, when you are done, split the layers via . At that place are a few options you can choose, only the following should be fine:
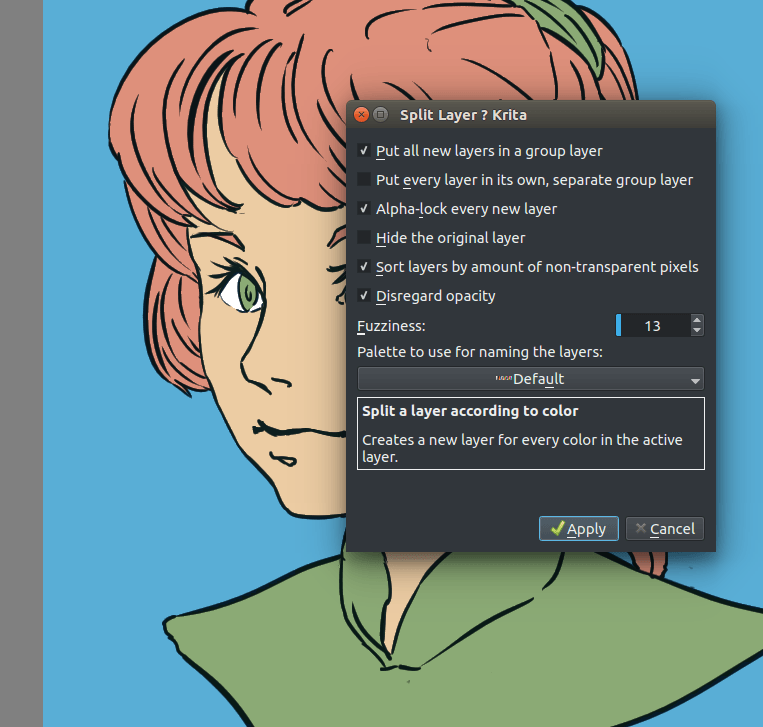
Finally, press Ok and you lot should become the post-obit. Each color patch information technology on a different layer, named by the palette in the menu and alpha locked, and so yous tin can start painting right away!
Advantages
Works with anti-aliased line art. Really quick to become the base piece of work washed. Tin machine-close gaps.
Disadvantages
No anti-aliasing of its ain. You have to choose between getting details right or the gaps motorcar-airtight.
Conclusion
I hope this has given you a good idea of how to fill up in flats using the diverse techniques, every bit well as getting a hand of different Krita features. Remember that a good flat filled line fine art is meliorate than a badly shaded one, so continue practicing to get the best out of these techniques!
Source: https://docs.krita.org/en/tutorials/flat-coloring.html
0 Response to "Drawings That Are Cute and Easy That Are Colered"
Post a Comment